Our instructions may differ slightly from what you see, as exchanges periodically change their interface.
Creating an Account on the Binance Exchange #
If you don’t have an account on the Binance Exchange yet, click on this link >> and click Get Started.
Next, choose the registration method.
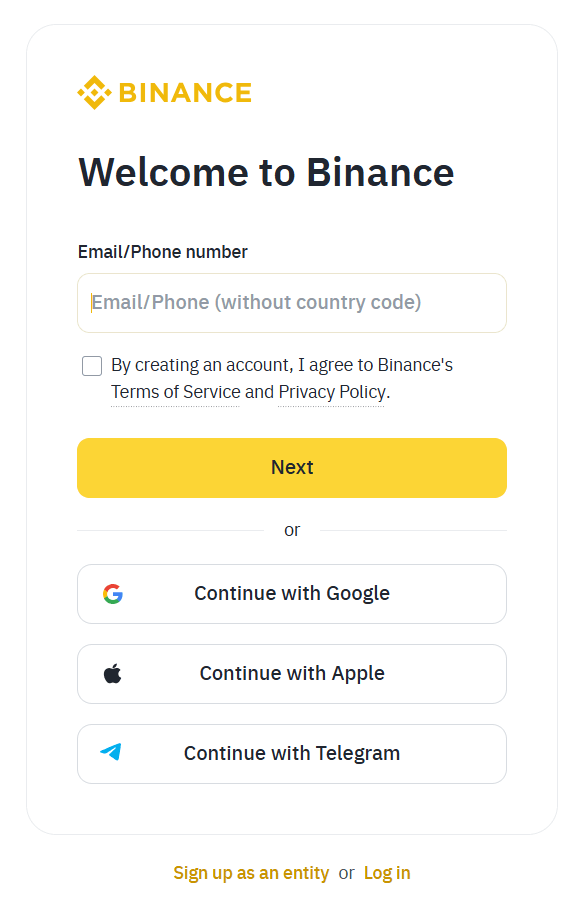
I recommend using email. Fill out the registration form.
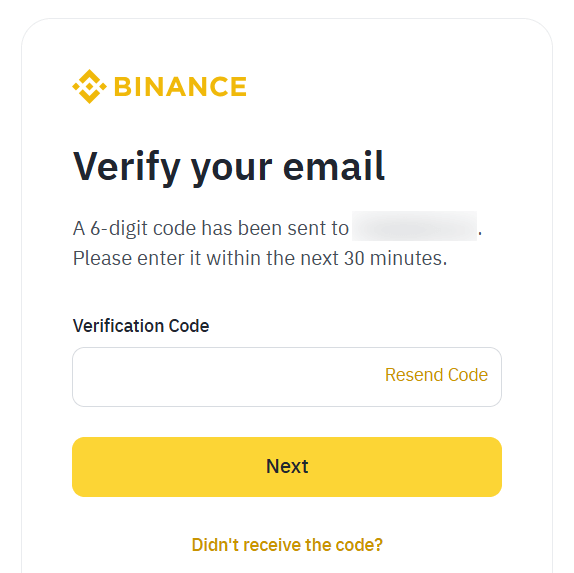
Open the email inbox you used to set up this account, find the email from Binance containing the verification code, paste it in, and click Submit.
Your account has been created. Unfortunately, Binance requires KYC, so you’ll need to complete the full verification process.
Next, follow the instructions provided. You will need to upload all the required documents, such as a photo of your ID/driver’s license/passport, utility bills, etc.
Remember that EazyBot also works on the KuCoin exchange, where such verification is not required (Integration of EazyBot with KuCoin).
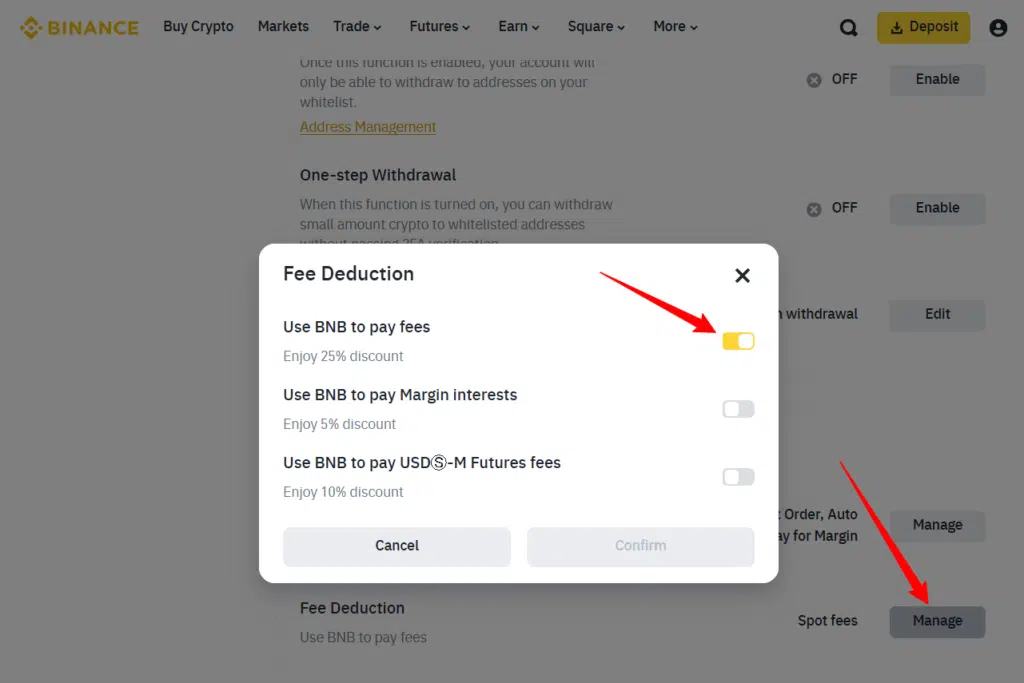
Lowering BNB Fees #
After creating your Binance account, make sure that in the Trading Fees section, you have selected Using Fee Deduction with BNB (25% discount). This will ensure you incur lower transaction fees.
Creating an API on Binance for EazyBot #
Now we will connect your EazyBot account to the Binance exchange.
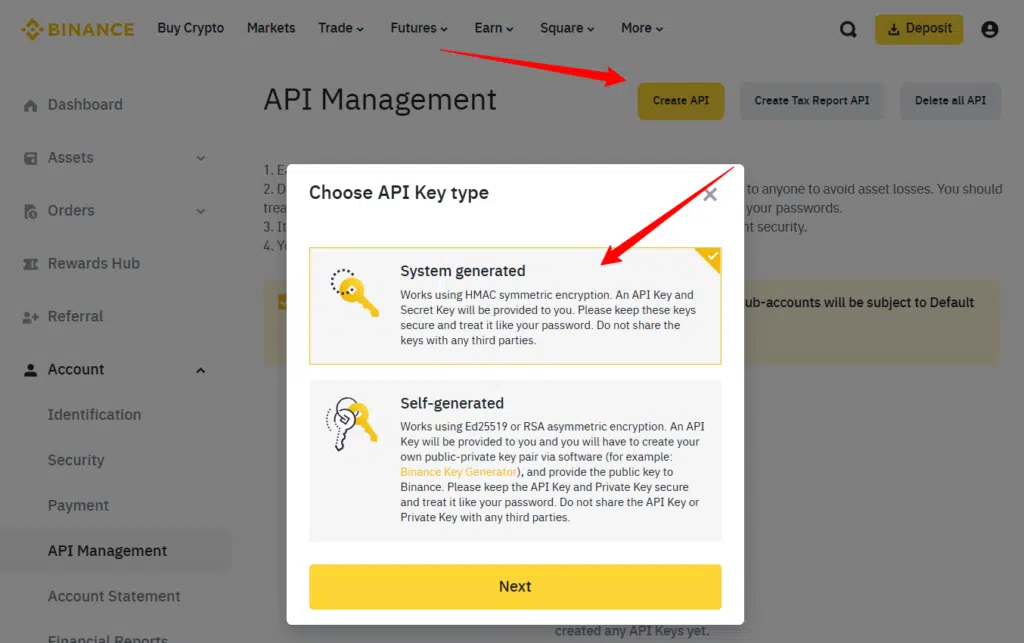
After logging into your Binance account, hover your cursor over the person icon in the left menu, then click Account > API Management.
On the next page, click Create API and System generated.
In the popup window, give your API key a name.

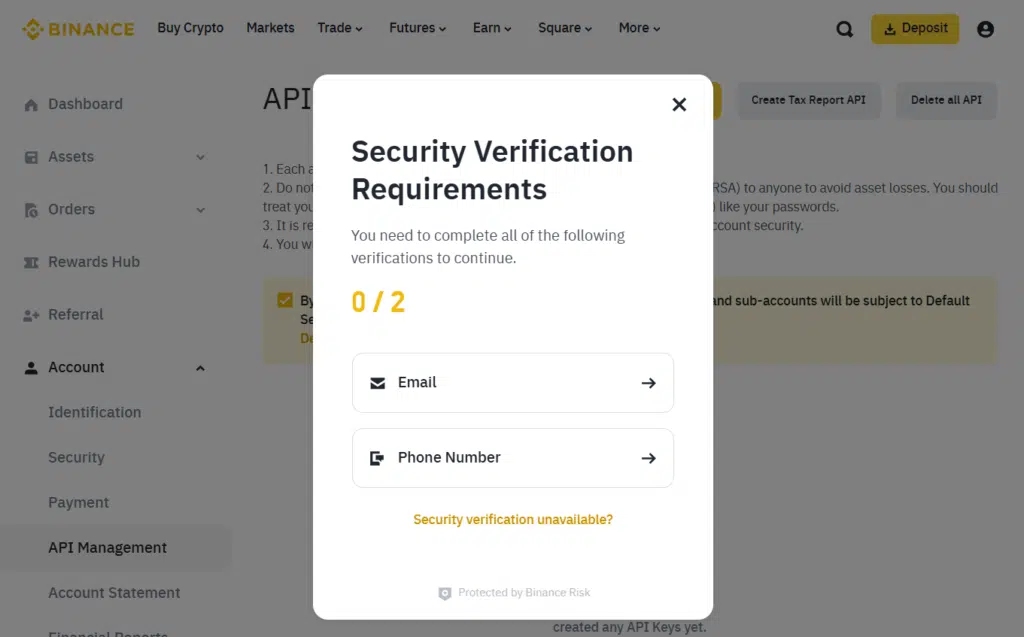
In the popup security verification window, click Get Code in the fields for Phone Number Verification and Email Verification Code. Then, enter the codes received via email and SMS, and click Submit.
You might have other verification options available.

To create an API you must have a fully verified account.
After this the API has been configured. Now you need to click on Change Permissions.
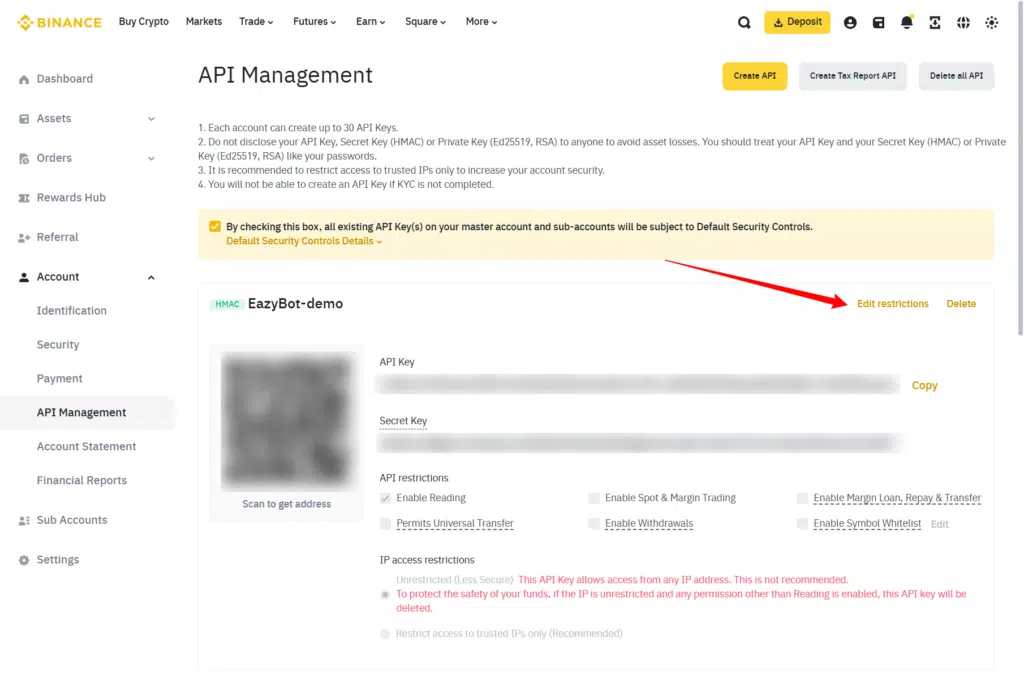
Now you need to change the API settings.
- Click Enable Spot and Margin Trading,
- In the IP Authorization section, select the second option, Restrict access to trusted IP addresses only (recommended), and enter the EazyBot IP address: 3.212.44.72.
- Then, on the right side of the entered IP, click Confirm,
- and finally, click the yellow Save button at the top right.

Next, you need to verify the API changes. In my case, this is done via a code sent via SMS.

And that’s it. You’ll see a message saying API Edit Completed Successfully.
Connecting Binance with EazyBot #
After logging into your EazyBot account, from the top left menu next to the logo, select Bot Management > User Exchanges > Add User Exchange and fill out the form by entering:
- Connection Namepołączenia,
- Exchange,
- Key,
- Secret,
and click Save.

The connection has been completed, and now you can proceed to set up your first trading bot.
I invite you to my tutorial on “How to set up your first trading bot”.